Phase 1: Creating a Username and Password for Nimbuzz.

1. Open Nimbuzz application found under INSTALLATIONS folder:
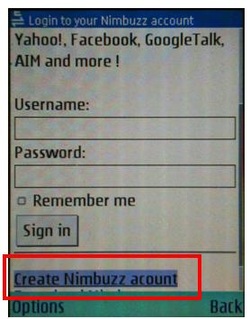
2. From here you will be able to Create a new USER ID and Password for Nimbuzz. Scroll down and select: Create Nimbuzz Account:
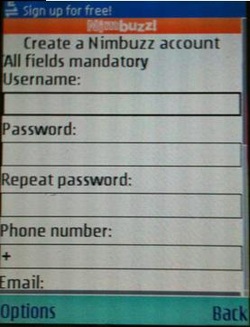
3. Enter all information requested: Username, Password two times, ( it has to be like: name789 or na7me89), Phone Number, email:
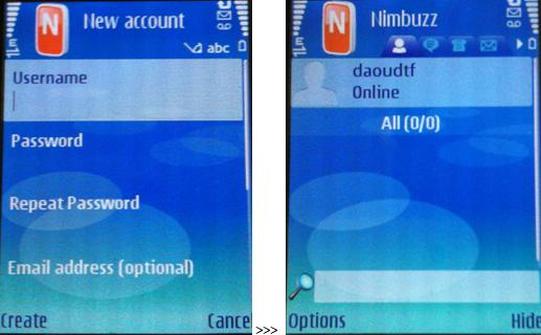
4. Once the account is created LOG IN:
Phase 2: Configuring Nimbuzz to TalkFree SIP Services and setting it as preferred VoIP Provider.
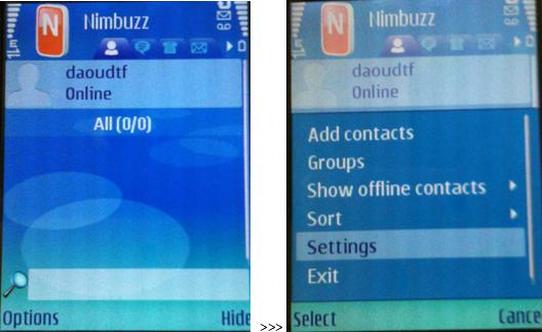
1. Once you log in, select OPTIONS. From there select SETTINGS.
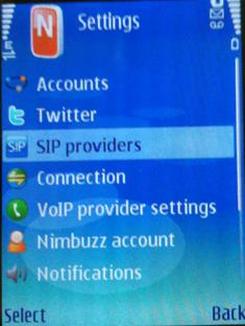
2. From SETTINGS select SIP providers.
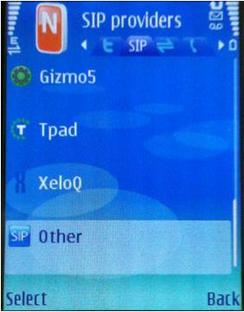
3. From here go down and select OTHER:
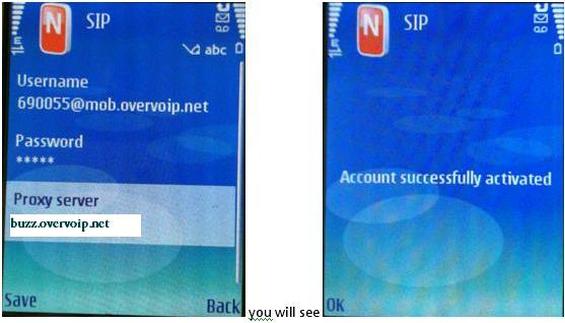
4. In Username enter the Account as follows: [email protected] Password enter PIN number and in Proxy server enter: buzz.overvoip.net, then select SAVE.
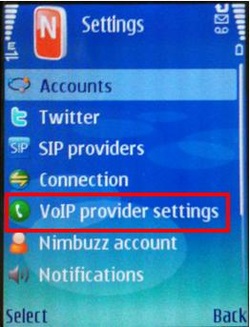
5. To set TalkFree as your outbound calling provider, go back Settings, then select VoIP Provider Settings:
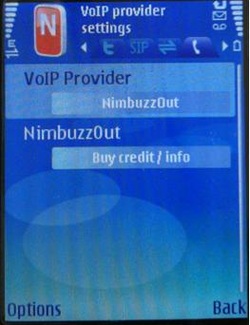
6. By default you will see NimbuzzOut. This means all calls going out will use Nimbuzz services.

7. To change to TalkFree, simply select NimbuzzOut field and you will see the option to change. Select SIP then OK
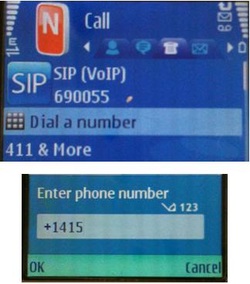
8. When you do that you should see SIP icon and account number on the TOP-LEFT corner and you can dial any number. When dialing use + in front of the number.
